A truly automated home relies on two things, sensors to feed data into the system and control points to act on situations that the home detects based on those sensors.
Control points include things like light switches, thermostats, locks, speakers, cameras and anything else you can think of controlling. Sensors include things such as humidity, temperature, motion, light and pressure sensors.
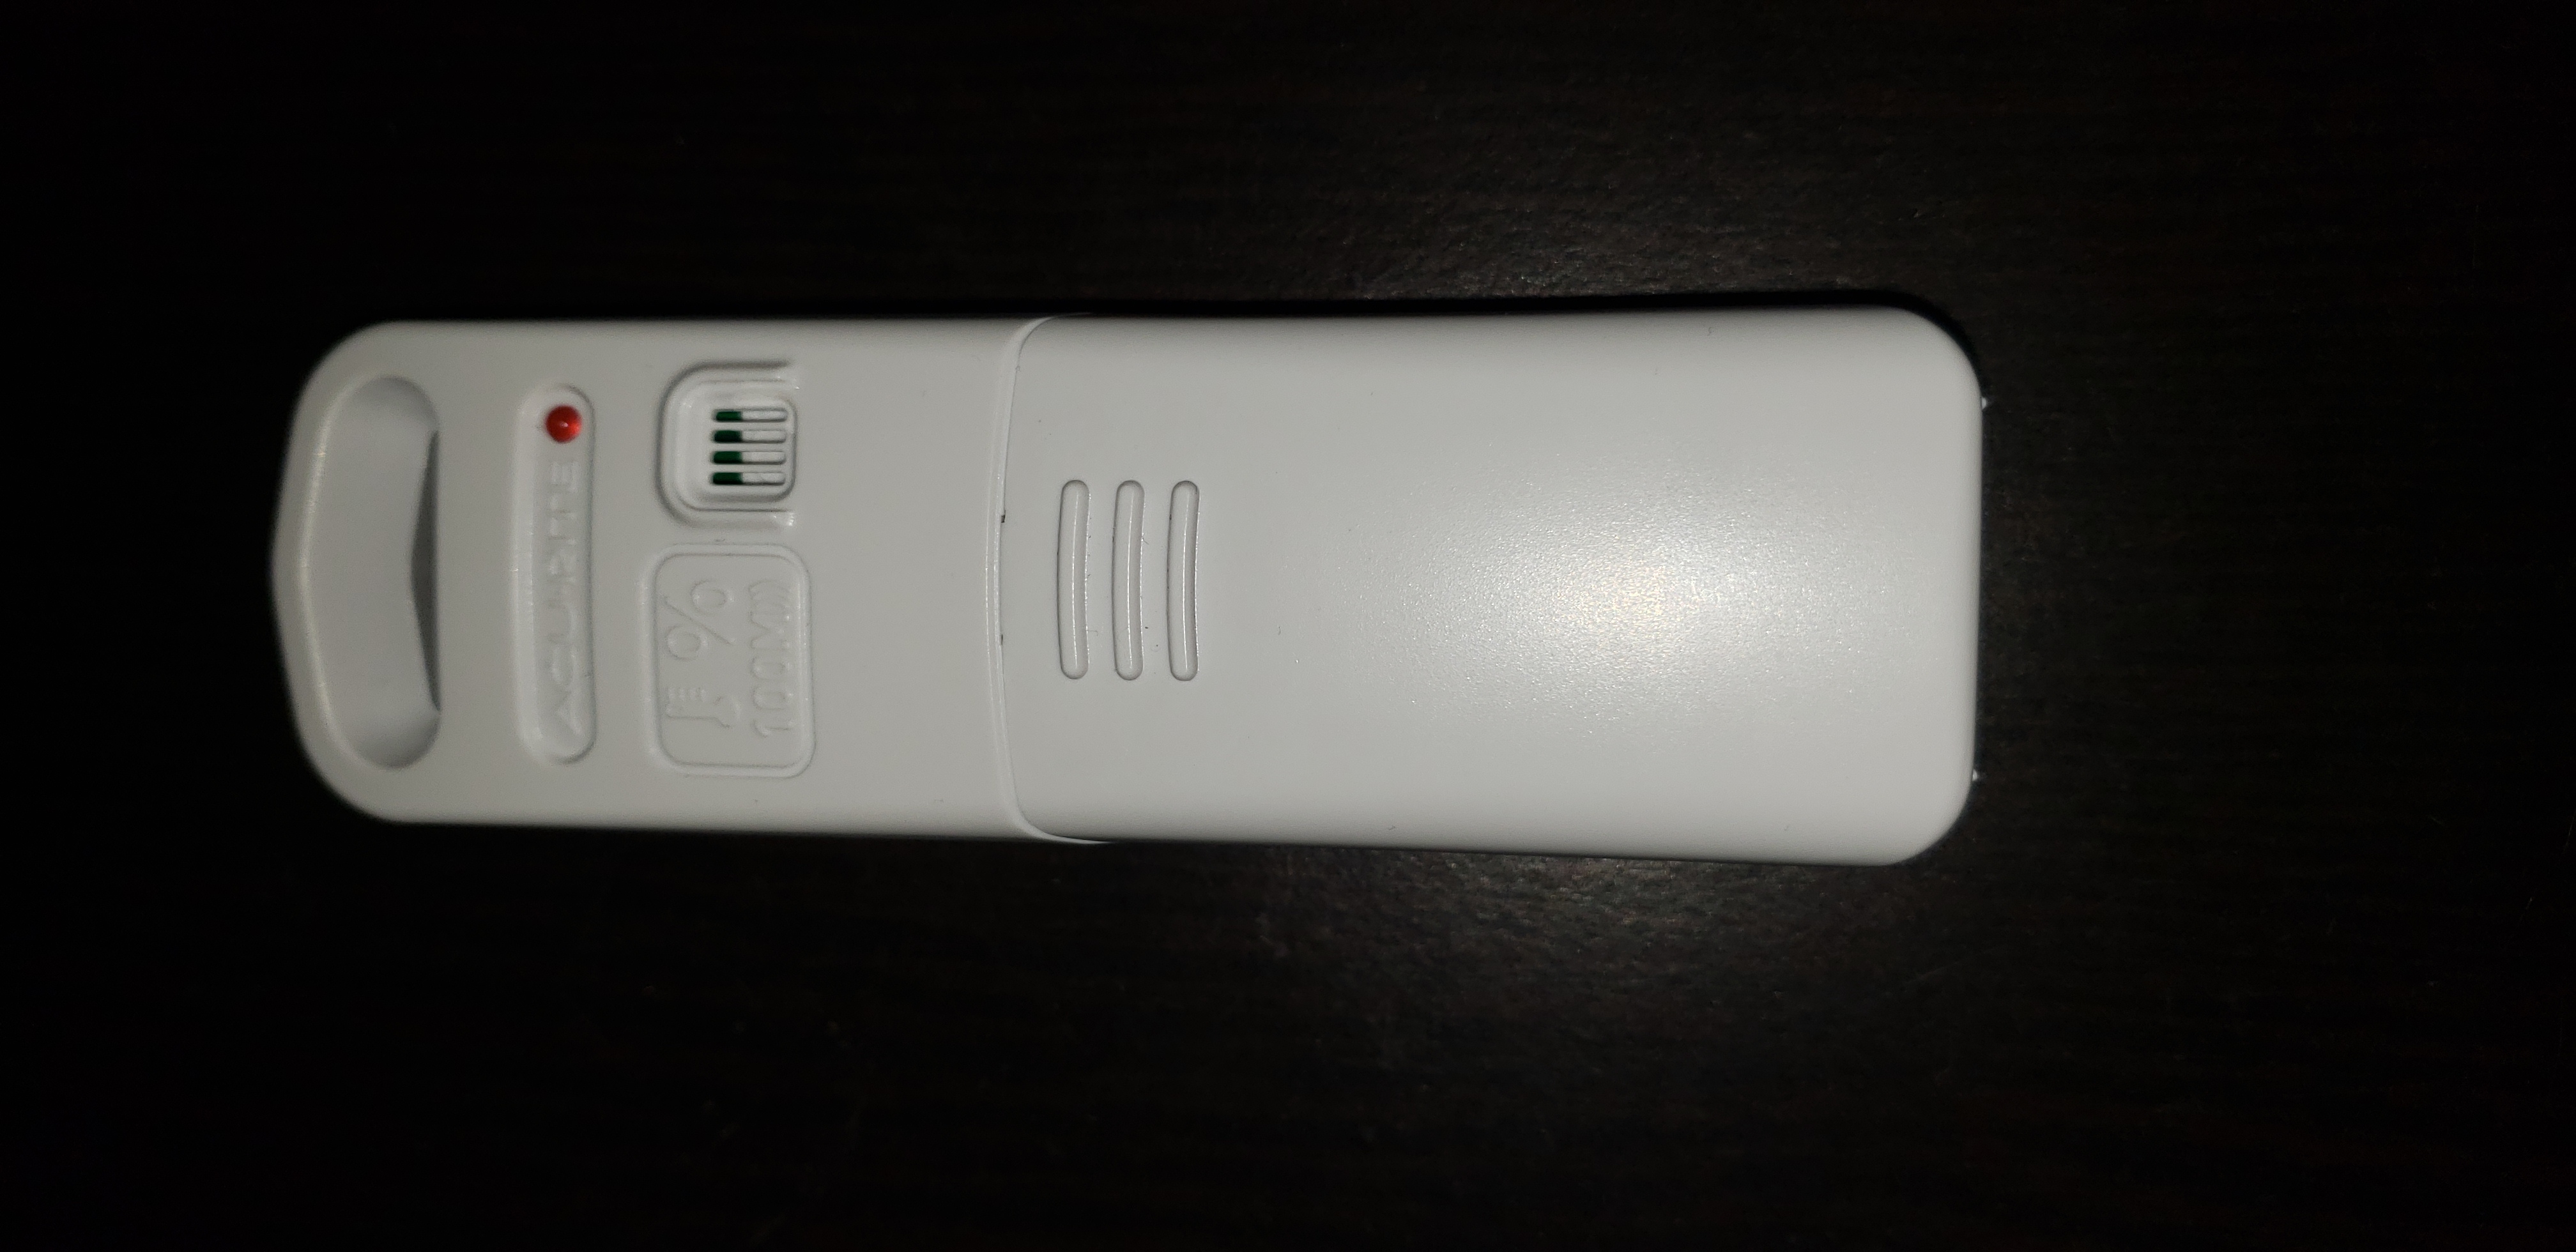
I have a few different temperature and humidity sensors in my house including an aeon labs multisensor 6 ($59.99), ecobee occupancy sensors ($75 pack of 2), and a monoprice multisensor 4 ($29.01).
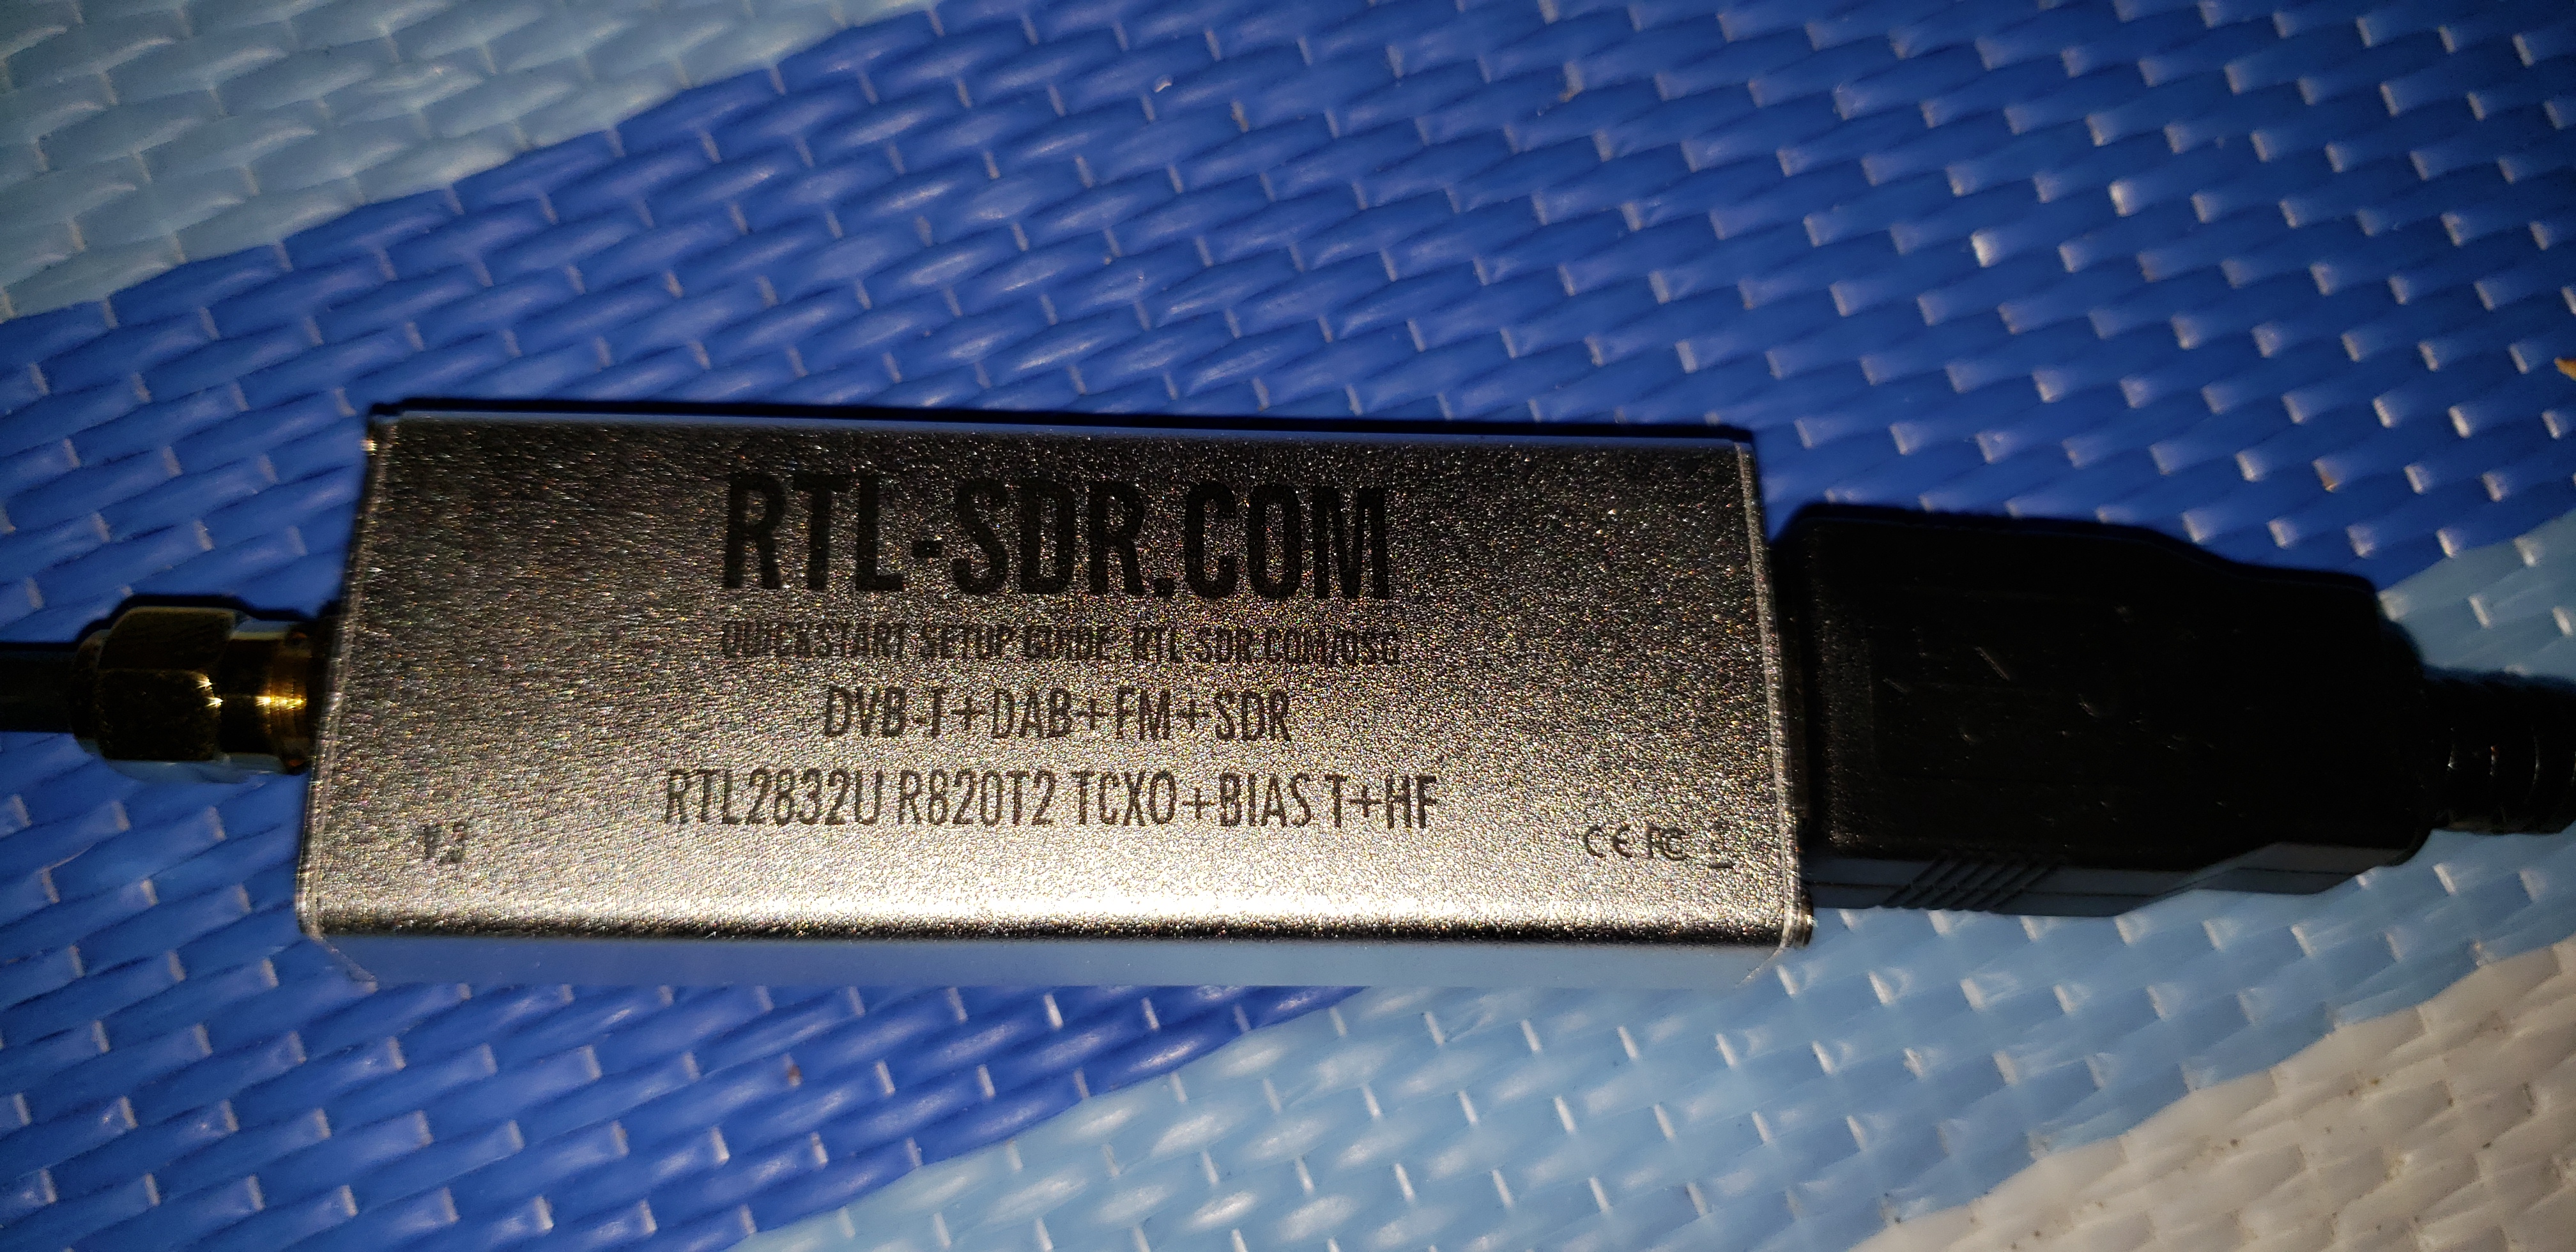
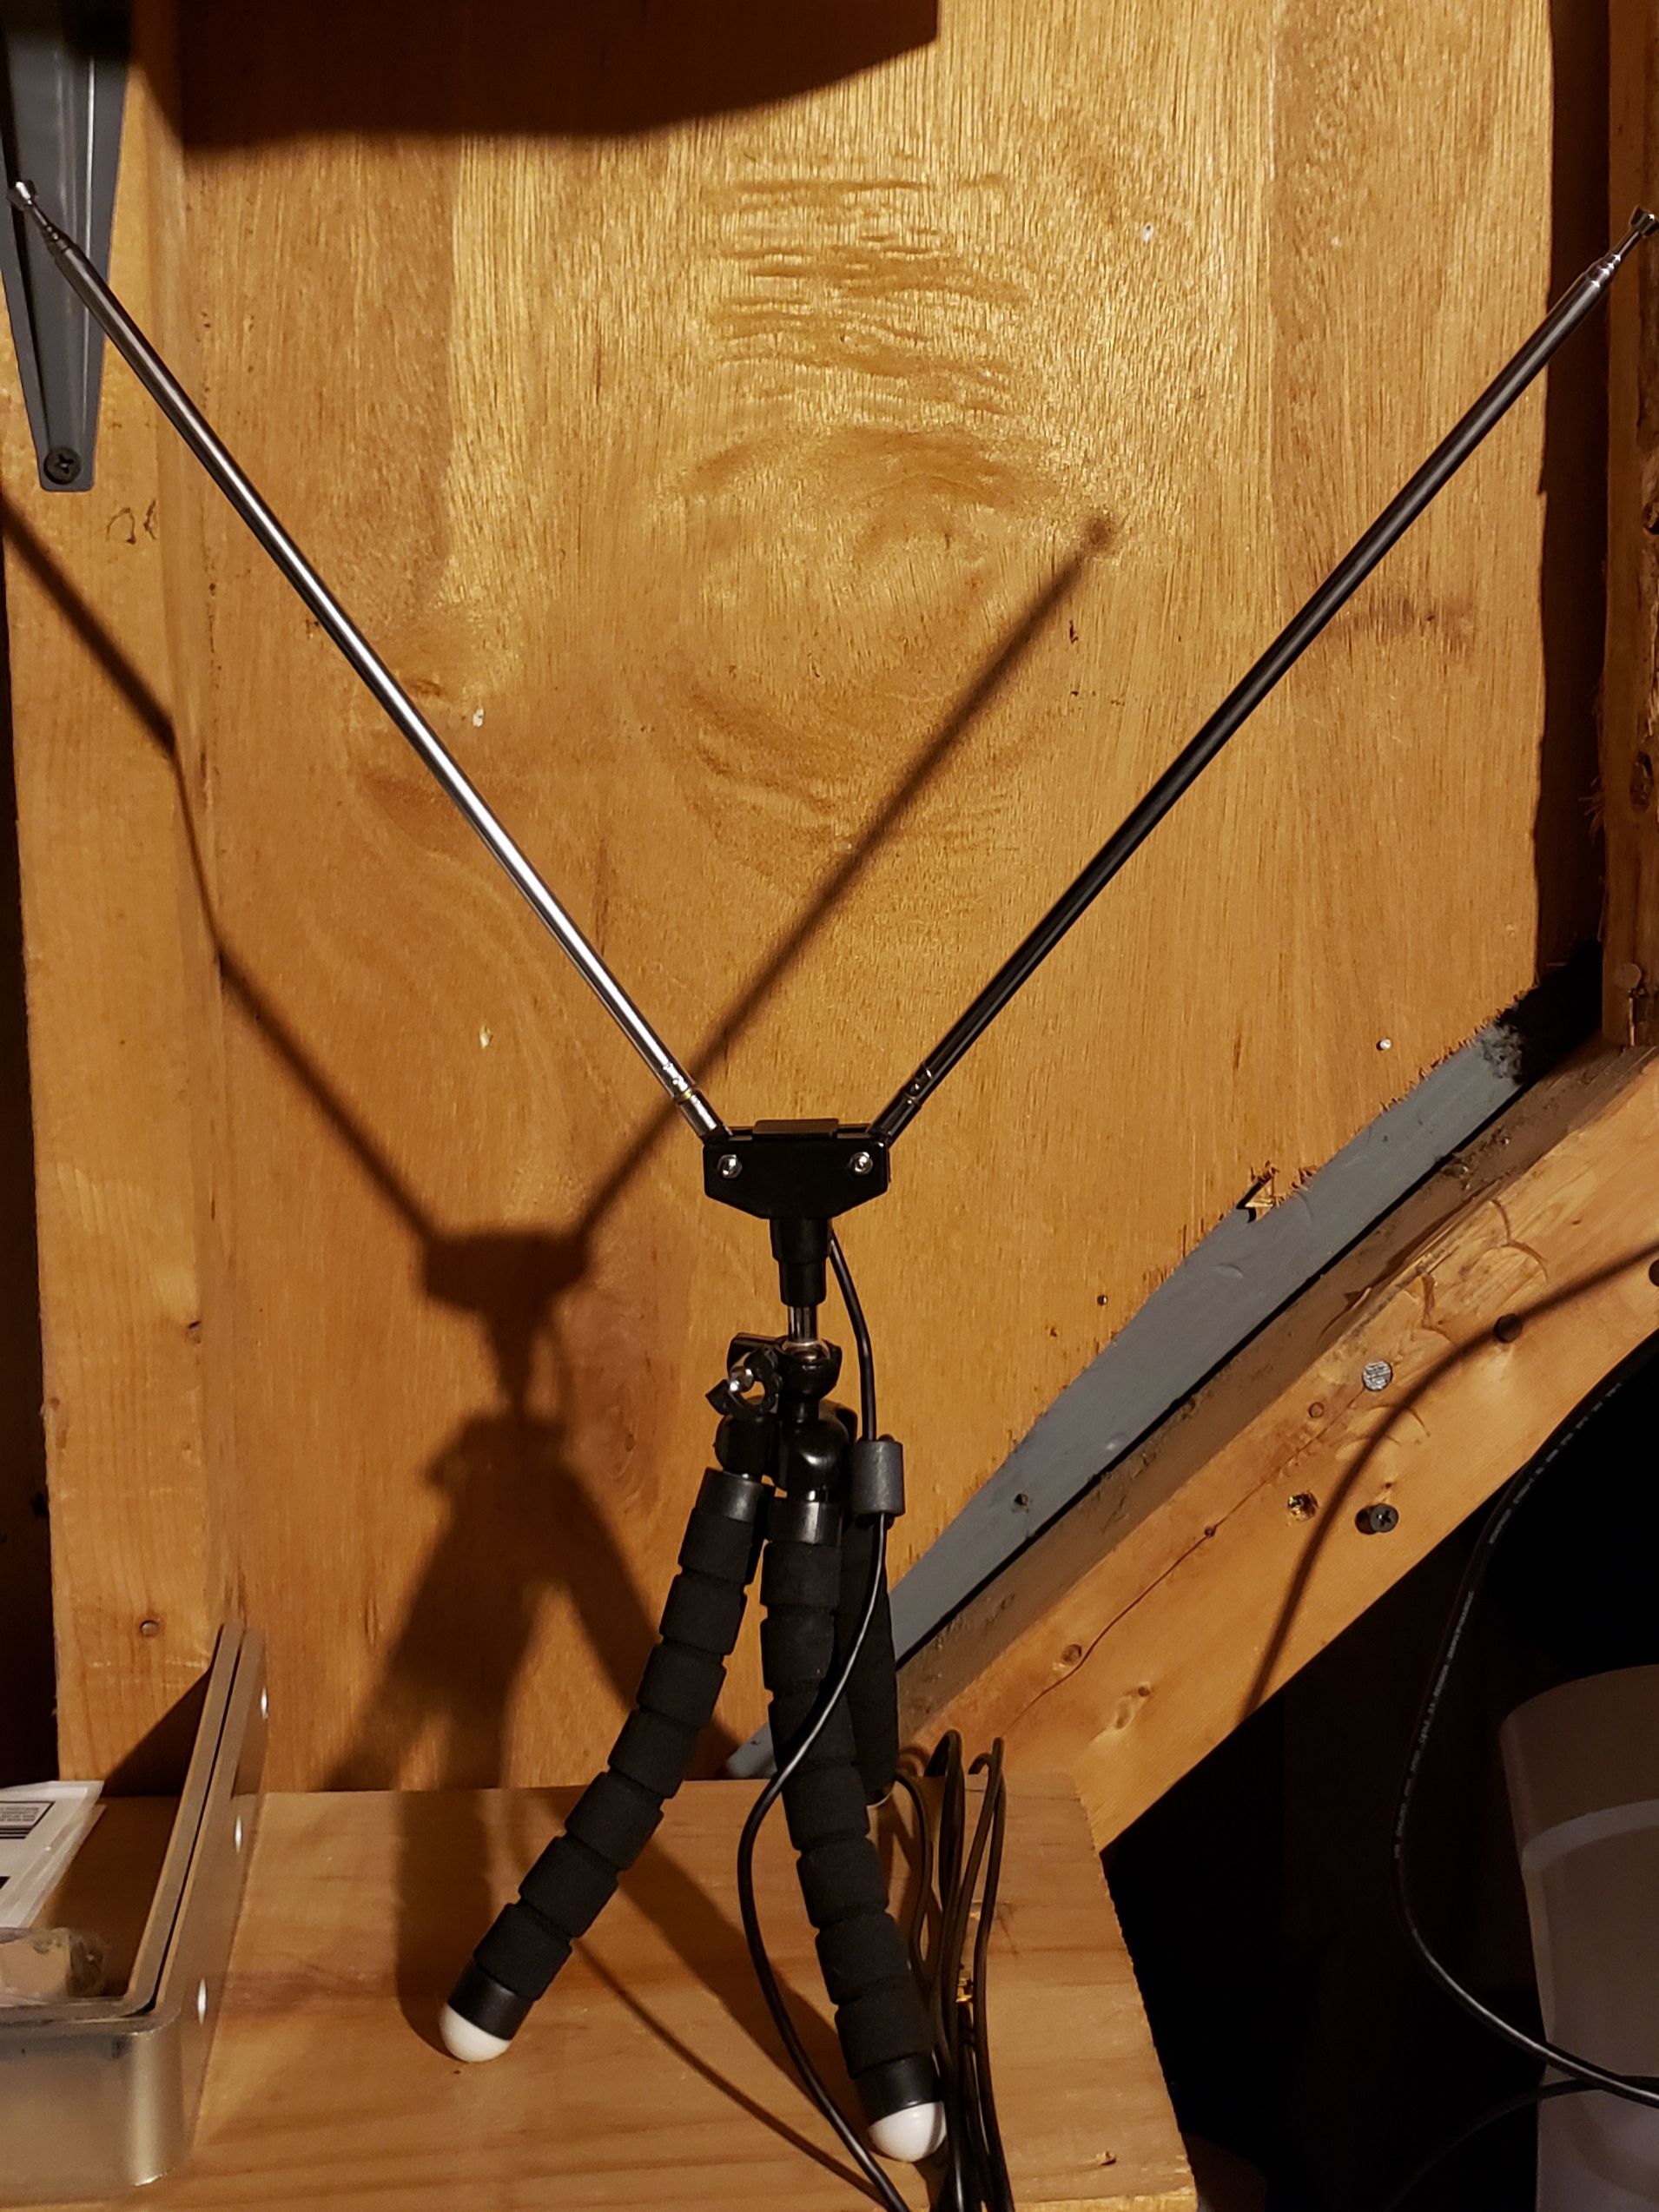
As we move into the new year I was looking for a way to increase the temperature and humidity sensor coverage of my house. While all of the sensors I have are reliable, they are too expensive to add additional sensors. The ecobee has the additional limitation of requiring the cloud platform as well. Toward the end of the year I began researching other sensor options and narrowed it down to two options. Either DIY sensors using the arduino platform or something called Realek Software Defined Radio (RTL-SDR). With the arduino solution I reviewed, I would have needed an arduino for each location and would have had to build the sensors from parts. While cheap, it was looking complex and needed power for each location. The RTL-SDR solution allows you to purchase a usb antenna and prebuilt battery operated sensors that you can place anywhere you want. Another large advantage to the RTL-SDR is you can read more than one frequency so if I bought a different sensor then I could reprogram my device to listen to the new one.
I decided to give the RTL-SDR a chance as the usb device was ($29.95) and each temperature and humidity sensor was ($12.99). For the cost of one more aeon labs sensor I could get the usb and three sensors! My wife actually saw me looking at them and got me the usb and a sensor for Christmas so I didn't even have to pick them up myself.
This weekend I had some time to begin tinkering with my gift to see if I could get sensor values reporting to my home automation system. I have a small server downstairs that I use for any Home Automation (HA) projects. It runs on Ubuntu and I install any projects with docker. I chose this process so that I can isolate projects from each other and any failed HA experiments are easily cleaned up. This particular project validated my process since there were many dead ends. One thing I'm learning about the rtl-sdr community is there are many, many alternatives to connect to the antenna and read radio signals.
First Challenge
Anyone that has added a usb device to a docker container knows the first step is to find out where your device connected.
If you're on linux then lsusb is your friend.
Running lsusb give several lines of output, one of which looks right
Bus 001 Device 005: ID 0bda:2838 Realtek Semiconductor Corp. RTL2838 DVB-TThis looks right because it references RTL2838 which is the chipset my device uses. I also noticed that /dev had a new entry for /dev/swradio0 that only appeared when the usb was plugged in.
When you share usb's to a container there are a few options, you can run it in privileged mode, share the /dev/ directory in a volume, or add a device with the devices command. In the end I have found the most reliable is to add the devices directive and run it in privileged mode. In this case I added:
devices:
  - /dev/swradio0:/dev/swradio0
  - /dev/bus/usb:/dev/bus/usb
  - /dev/bus/usb/001/005
privileged: true
The /dev/bus/usb device is probably not necessary, but I saw several recommendations to add it for this particular device.
After several false starts I settled on the following program called rtl_433 since it has some automated scanning and decoding for the 433mhz signal my sensor transmitted at. After a bit of research, and a few more false starts I found a clean docker implementation, that looked like it would work. After a quick setup with docker compose (I'll share my config at the end) I had a container up and running and I was able to connect to the container. One of the first things I always do when setting up a new container is check the logs.
Second Challenge
The container was unable connect to the usb because another process was connected already. I have several containers connecting to usb devices and never encountered this. After some research it is a common issue with RTL-SDR devices. You need to prevent the host kernel from loading drivers. I was able to prevent this by adding a blacklist file: /etc/modprobe.d/dvb-blacklist.conf with the following values:
blacklist r820t
blacklist rtl2832
blacklist rtl2830
blacklist dvb_usb_rtl28xxu
This file prevents the host from loading drivers allowing the container to connect instead. Once I made that change I had to unplug and reseat the usb device and reboot the host. Once this was complete, the container was able to connect to the device and instead of errors, the log began to look like this:
INFO: Starting command: ['/usr/local/bin/rtl_433', '-F', 'json', '-R 12', '-R 51', '-R 29', '-l 0'],

INFO: 2604814bac3e59b5774e8220ddba6885/: {'time': '2020-01-12 22:10:44.132568', 'protocol': 40, 'model': 'Acurite-Tower', 'id': 1663, 'channel': 'A', 'battery_ok': 1,
 'temperature_C': 21.8, 'humidity': 48, 'mod': 'ASK', 'freq': 433.949, 'rssi': -0.105, 'snr': 23.174, 'noise': -23.279},
Success!
It updated every 16 seconds and you can clearly see the humidity and temperature values. This was a great! I had an off the shelf $13 temperature and humidity sensor reporting data into a docker container.
My next post I'll talk about how I ended up needing to set up an MQTT server to get the data from this container to my HA system and the process I set up to health check the rtf 433 server to ensure it's up and running. My next task is to learn what all the other values in the json string mean like mod, snr, and noise. I have a feeling this is going to be a much larger part of my hobby than I initially thought. Just my initial research has shown there is a deep world for those looking to manage radio operated devices with an antenna.
As promised docker-compose:
# LinuxChristian/rtl_433-docker
rtl_433:
  build:
  context: ./containers/rtlsdr
  container_name: rtl_433
  devices:
    - /dev/swradio0:/dev/swradio0
    - /dev/bus/usb:/dev/bus/usb
    - /dev/bus/usb/001/005
  privileged: true
  volumes:
    - /srv/docker/rtl433/config:/root/.config/rtl_433
  environment:
    - MQTT_IP=XXX.XX.XX.XX
The ./containers/rtlsdr container just has the files from the repo here. I had to add RUN mkdir -p /root/.config/rtl_433 to line 19 of the Dockerfile so it would read the config file I added the volume so that I could run rtl_433 when attached to the container myself. It's not strictly necessary, but it contains the values here.
The only other modification I have to make is a health check for the container. This will allow me to restart the container if the process dies. I'll post about that once I get there though!